Warning
You are reading an old version of this documentation. If you want up-to-date information, please have a look at 1.1 .Create your first recipe
What is a recipe?
A recipe contains all the vision parameters for a specific part.
When properly configured, a recipe enables EYE+ XTD to:
Detect all pickable parts.
Sort parts based on the defined picking order if applicable.
Provide feedback when no more parts are available.
Create a recipe step by step
The recipe wizard is designed to create a recipe for your specific part. It is divided into 6 steps.

1. Starting Up: Images are captured with acquisition parameters that will be used in the next steps.
2. Candidate Detection: Potential pickable parts are detected.
3. Candidate Selection: (Optional) Only candidates that are oriented correctly are selected.
4. Pick Point Teaching: X,Y-Position of the part is precisely defined.
5. Pick Angle Teaching: (Optional) RZ-Orientation of the part is precisely defined.
Access recipe wizard
Creating a recipe is the second step of the onboarding tool (Fig. 13). From the page, simply click on to open the wizard.
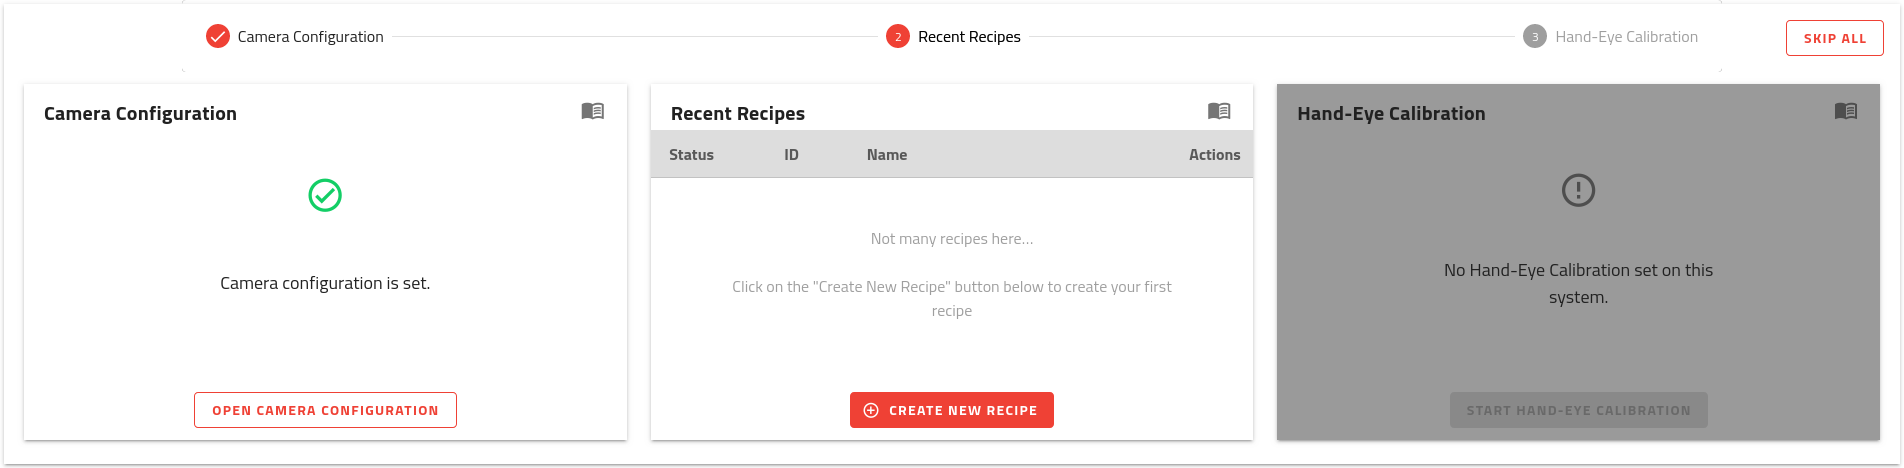
Fig. 13 HOME page onboarding - Step 2 - Recent Recipes
You can also access it from the RECIPES page. Click on and then on .
Create your first recipe
Follow the wizard step by step. Once it is done, you should see your first recipe in the list of recipe from page (Fig. 14). Keep in mind the identifier of your recipe for the last step of the quick start.
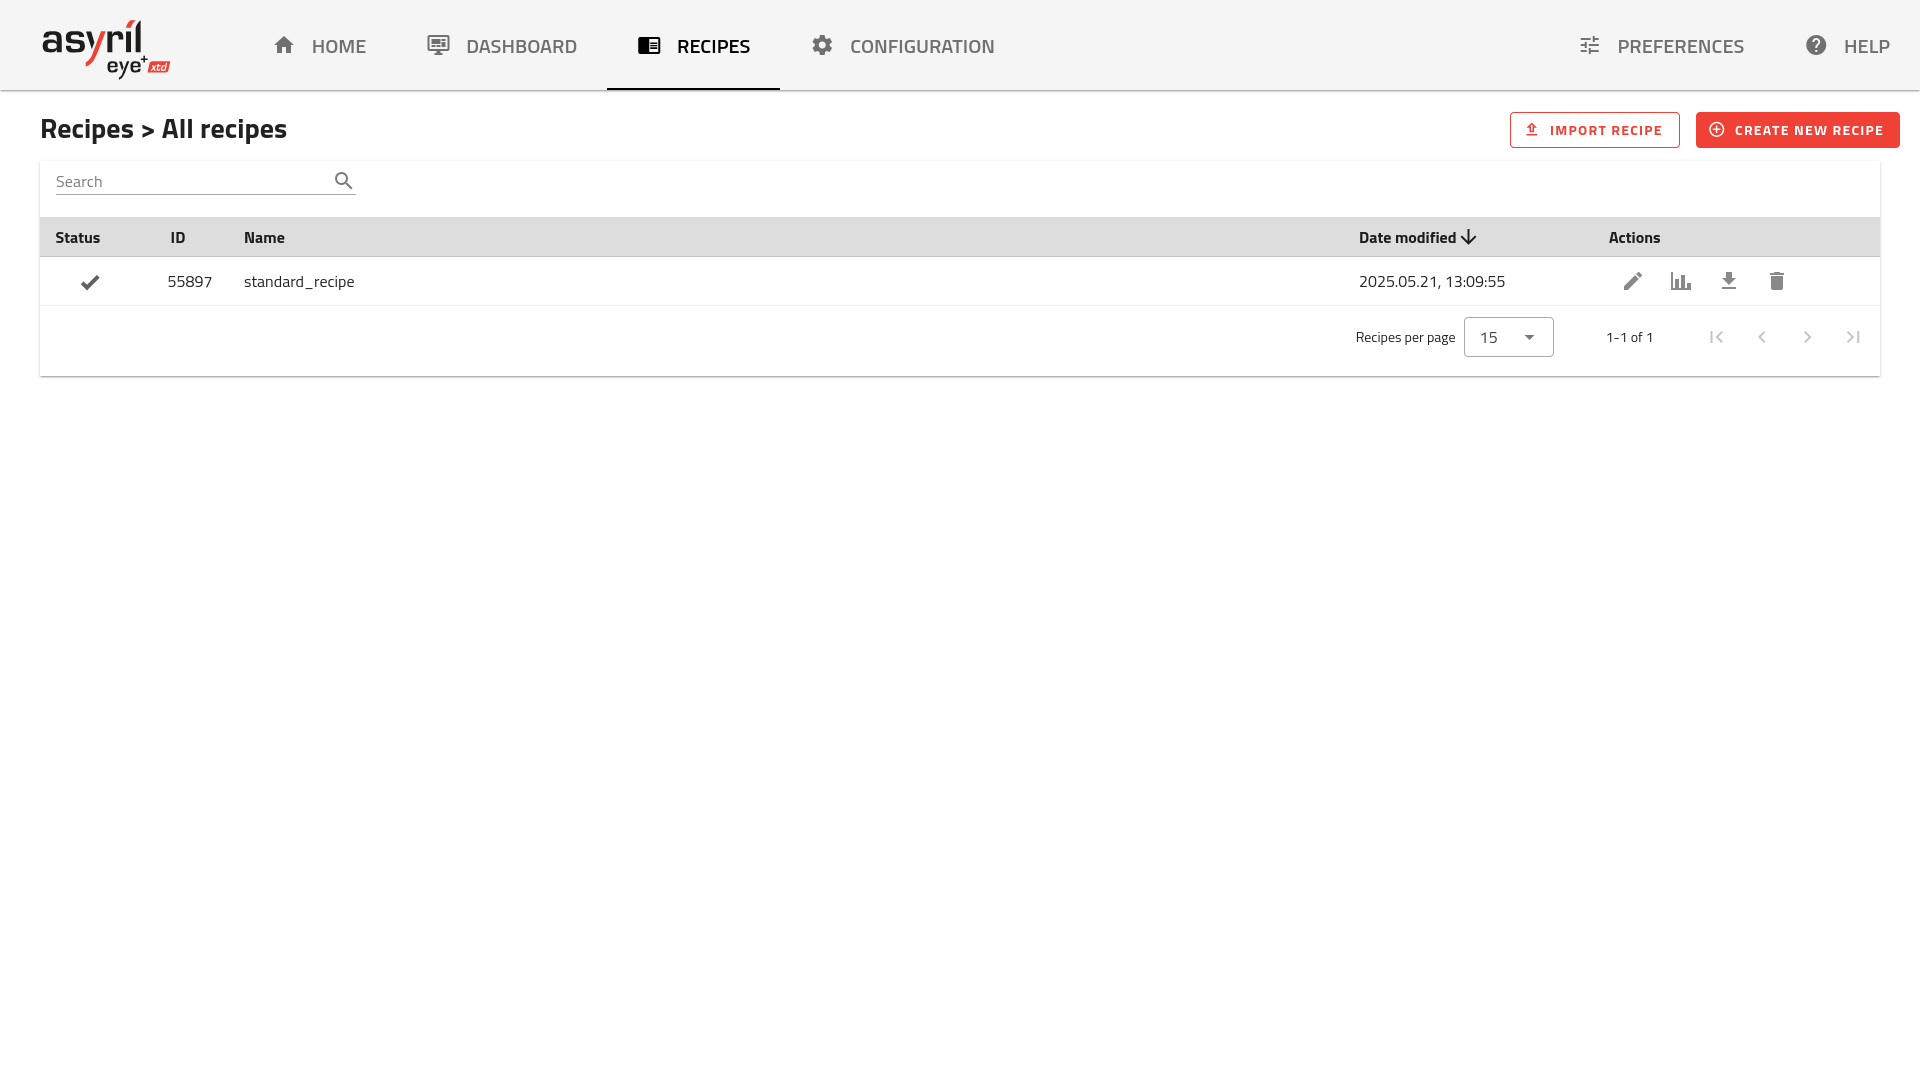
Fig. 14 Recipes list
Note
Further information on recipes can be found in the chapter Recipes.
If you go back to the page, you will notice that the second step is completed (Fig. 15).
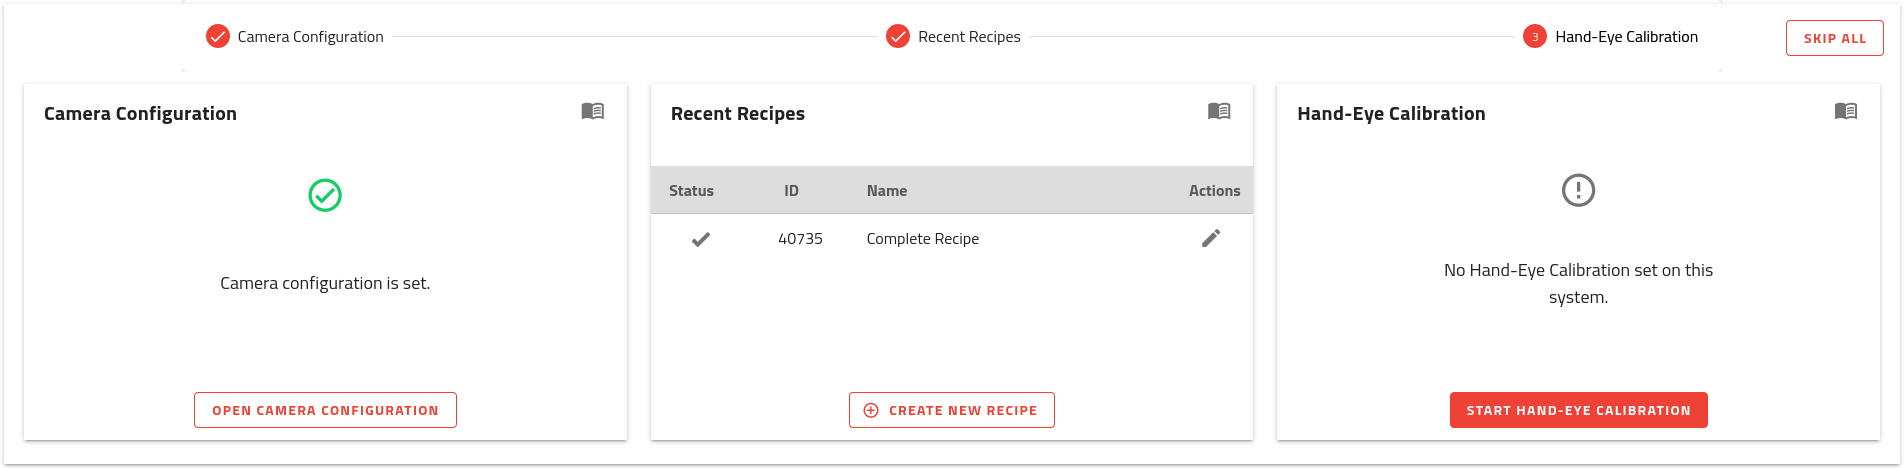
Fig. 15 HOME page onboarding - A recipe has been created
Now you are ready to perform the hand-eye calibration.