Warning
You are reading an old version of this documentation. If you want up-to-date information, please have a look at 1.1 .3. Candidate Selection
Note
This step is optional for standard recipes, but mandatory when creating a multi-model recipe.
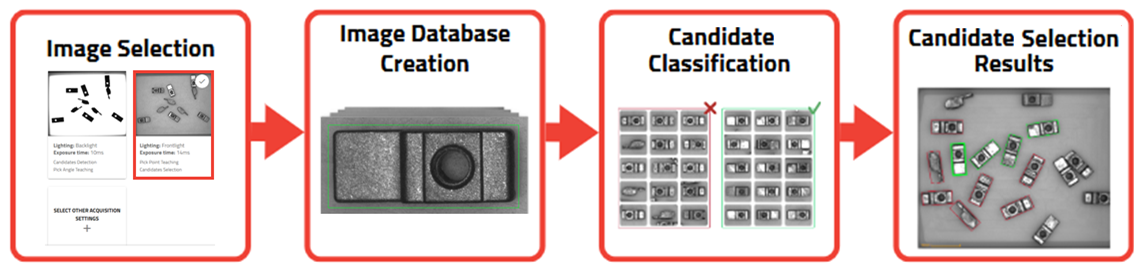
Fig. 68 Candidate Selection overview
The Candidate Selection enables EYE+ XTD to distinguish between different orientations of a part using a neural network powered by artificial intelligence and to filter them to keep only the good candidates.
For standard recipe, the step is disabled by default, as in most cases, the orientation is already filtered during 2. Candidate Detection (e.g. a part in Fig. 69). However, if undesired orientations are still detected, you can activate and configure Candidate Selection to automatically reject them.
For multi-model recipes, EYE+ XTD can not only recognize different orientations of a part, but also distinguish between entirely different parts. This step classifies candidates under the specified model.
To do so, simply click on and proceed to 3.1 Acquisition settings.
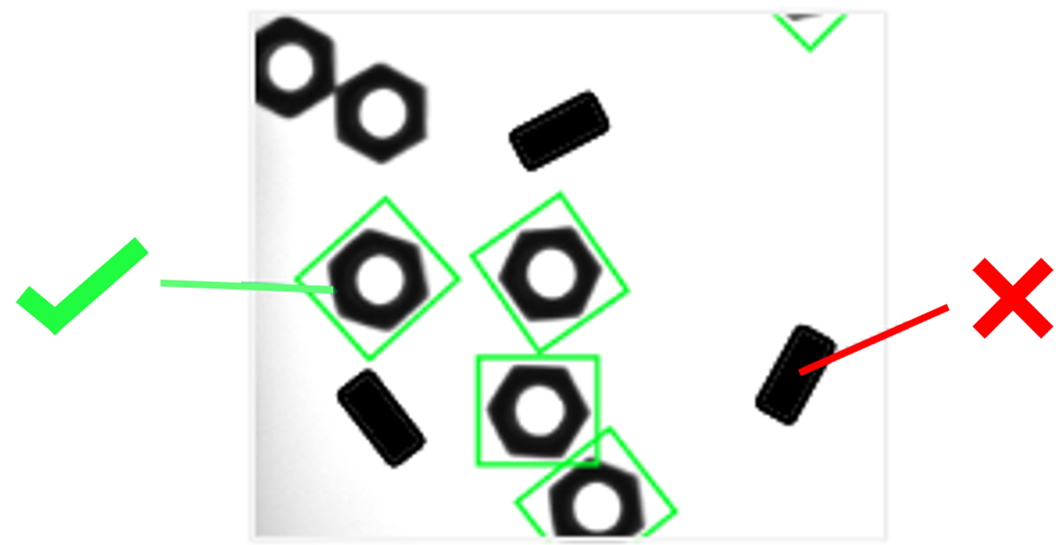
Fig. 69 Part orientation already filtered by the Candidate Detection step
Multi-model
Unlike the single-model version, you do not need to classify each candidate as either OK or KO. Instead, you assign each candidate to a specific model, or place it in the BAD category if it should be rejected by the system. By default, two models are created in addition to the BAD category. The BAD category is intended for discarding incorrect orientations or unwanted parts from the detection results. No additional vision steps are required for this class.