Warning
You are reading an old version of this documentation. If you want up-to-date information, please have a look at 1.1 .Create new recipe
To create a new recipe from scratch, you can access the recipe wizard by clicking on . This will open the recipe type selection dialog (Fig. 51).
Important
If you have not carried out the camera calibration, a dialog will appear asking you to do so before creating the recipe. We strongly recommend that you perform this step before starting your recipe creation. For more information on this wizard, please refer to the section Camera configuration wizard.
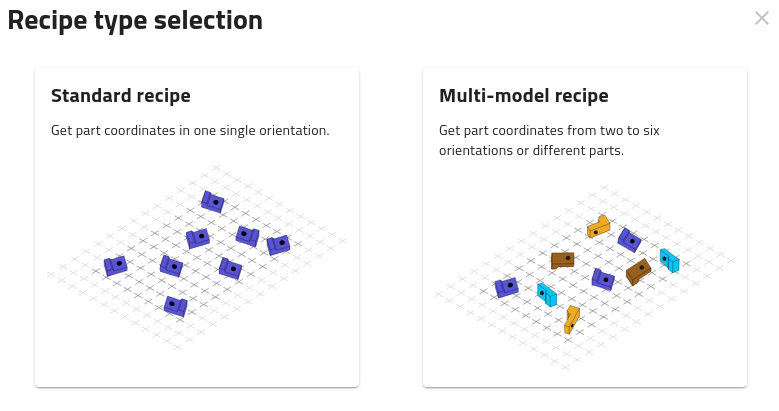
Fig. 51 Recipe type selection dialog
Then, you have to choose the type of recipe you want to create, depending on how your parts are presented and what you need to detect:
Standard Recipe: This recipe type is suitable when all parts are presented in a single, consistent orientation. It will return the coordinates of the detected parts that face the same way.
This is typically used for applications where parts are neatly aligned, such as on a tray, in a fixture, or moving uniformly on a conveyor. It is faster to configure and more efficient when orientation variability is not an issue.
Multi-model recipe: This recipe type allows you to detect parts in multiple orientations, or even entirely different parts within the picking area. It supports up to six different models.
This is recommended for more complex scenarios—such as parts randomly placed on a conveyor, or applications where you need to handle several part types without switching recipes. It offers greater flexibility but may require more time for training and setup.
Choosing one of the options will open the recipe wizard that will guide you through the process of creating your recipe.
Note
The recipe type cannot be changed after creation. Make sure to select the one that best fits your application.